Every group ride has the same argument. One rider swears tubeless changed their life. Another is on flat number three of the season and can’t decide whether to switch or just buy better tubes. Both have a point, and the right answer depends on how you ride and race. Here’s how tubeless vs tubes actually compares on a road bike, plus a full tubeless install guide if you decide to switch.
TL;DR
Tubeless usually wins for racing, mostly because of flats and lower pressure, not raw speed. Good TPU tubes close the speed gap more than most people expect. One detail about your rims can decide whether tubeless is even a safe option for you.
Key takeaways
- Tubeless is a few watts faster than butyl tubes, but the gap to good TPU or latex tubes is small.
- The bigger win is fewer flats and the freedom to run lower pressure without pinch flats.
- Tubes are still the simpler setup, and the easier roadside fix.
- Hookless rims cap tire pressure at 72.5 psi (5 bar), so check your wheels before you buy tires.
- A tubeless install is messy but very doable at home with the right tools. The full steps are below.
Some links below are affiliate links. If you buy through them, Even Splits Lab earns a small commission at no extra cost to you. It helps keep the calculators free.
Tubeless vs Tubes: The Short Version
The tubeless vs tubes question comes down to trade-offs, not a clear winner. Tubeless gives you fewer flats, a better ride at lower pressure and a small speed edge over butyl tubes. In exchange, you get a messy setup and sealant that needs replacing every few months. If that sounds like a hassle you won’t keep up with, a good TPU tube in a quality tire is a perfectly respectable race setup.
| Factor | Tubeless | Tubes |
|---|---|---|
| Speed | A few watts faster than butyl. Close to TPU or latex. | Butyl is slowest. TPU and latex sit just behind tubeless. |
| Flats | Seals small punctures on its own. Big cuts need a plug or a tube. | Every puncture is a stop. Pinch flats at low pressure. |
| Setup | Messy the first time. Needs tape, valves, sealant and a syringe. | Simple. Fit the tube and go. |
| Upkeep | Sealant every few months. Check pressure often. | Very little. Latex needs air before every ride. |
| Roadside | Plug it, or put a tube in as a backup. | Swap the tube. |
| Weight | Sealant weighs about the same as a TPU tube. | Butyl is around 100 g. TPU is 30 to 40 g. |
What Are Tubeless Tires?
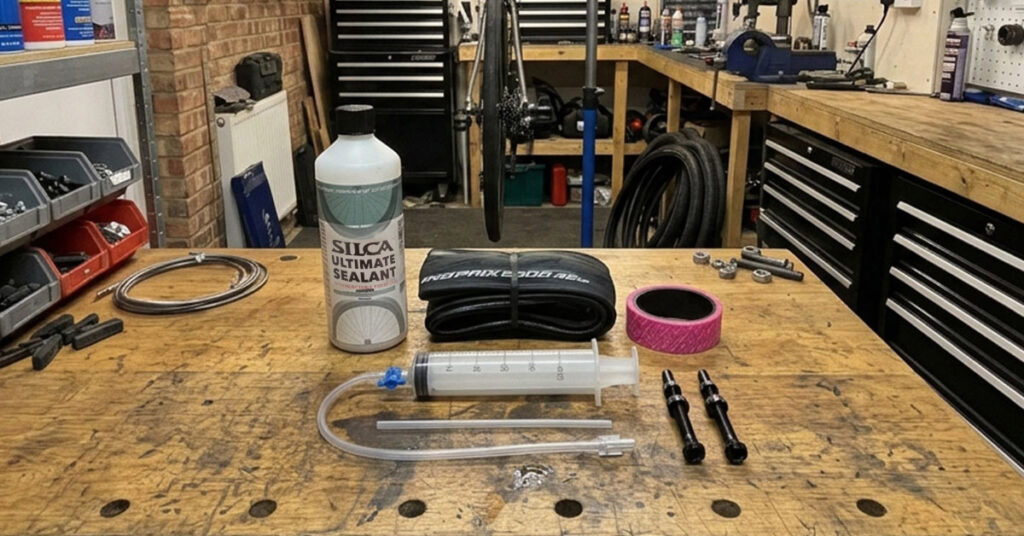
A tubeless tire seals directly against the rim, so there’s no inner tube. Air sits inside the tire, and liquid sealant coats the inside to plug small holes as they happen. It takes a few specific parts to work:
- Tubeless-ready tire: Stiffer bead that locks onto the rim and holds air without a tube. Look for TR, TLR or “tubeless ready” on the sidewall.
- Tubeless-ready rim: Shaped to hold the bead and seal. Most modern road wheels are, but check yours.
- Rim tape: Covers the spoke holes in the rim bed so air can’t leak out.
- Tubeless valve: Seals against the rim with a rubber base and lock ring. Usually has a removable core.
- Sealant: Latex-based liquid that clots in small punctures. It dries out over time, so it needs replacing.
Benefits of Tubeless Tires
- Fewer flats: Sealant plugs small holes from thorns, glass and little cuts, often before you notice them.
- No pinch flats: No tube to pinch means you can drop the pressure for more grip and comfort.
- Slightly faster than butyl: Lab tests put tubeless a few watts ahead per tire. More on that below.
- Better ride feel: Lower pressure usually means a smoother ride and more grip on rough roads.
- Race-proven: TOUR magazine reports that pro riders now almost always race on tubeless.
Drawbacks of Tubeless Tires
- Messy, fiddly setup: Sealant gets everywhere the first time. Keep a rag nearby.
- Sealant upkeep: It dries out, so plan on replacing it every few months. Mine lasts about 5 to 6.
- Big holes need more than sealant: A wide cut needs a plug or a tube to get you home.
- Tight fit: Tubeless tires are snug, which makes fitting and removing them harder, especially roadside.
- Slow air loss: They usually lose a bit more air than tubes, so check pressure before every ride.
- Compatibility rules: Tire, rim and pressure all have to play nicely together, especially on hookless wheels.
- Upfront cost: Tubeless-ready tires, sealant, valves and tape add up compared with a tube.
What Are Tubed Tires?
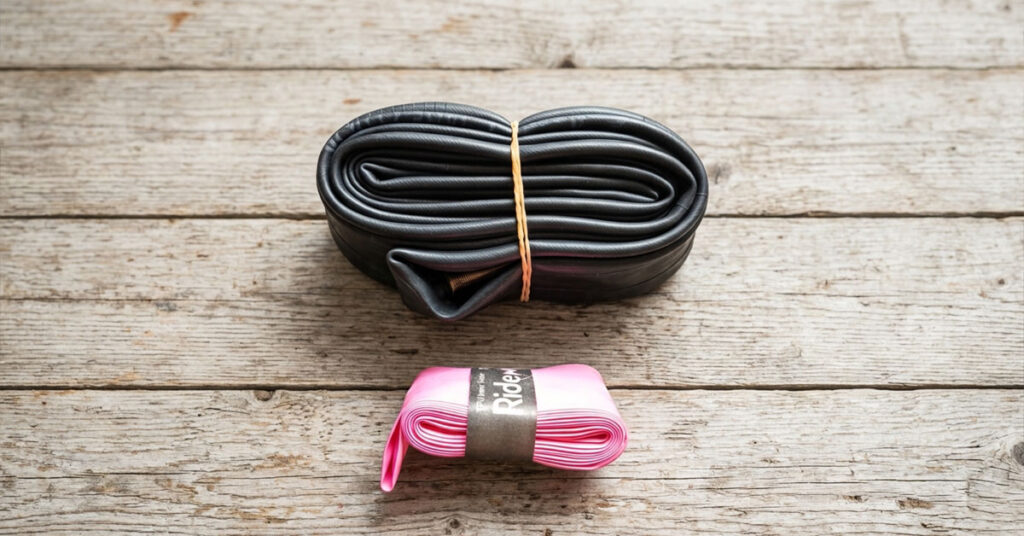
A tubed setup is the classic clincher: a tire with a separate inner tube inside it. The tire holds the shape and the tube holds the air. Tubes come in three main types:
- Butyl: Cheap, durable and easy to find. The heaviest of the three at around 100 grams.
- Latex: Fast and supple, but they lose air quicker, so top them up before every ride.
- TPU: Very light at roughly 30 to 40 grams, with low rolling resistance. They cost more and are harder to patch.
I covered TPU tubes and a few tire picks in our guide to the best road bike upgrades for the money. Here are the tubed options I’d look at:
| Item | Product | Notes | Link |
|---|---|---|---|
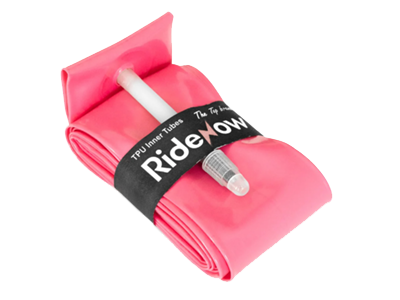 | Ridenow TPU Tubes | 2-pack. Budget TPU option. Light and packs small. | View on Amazon |
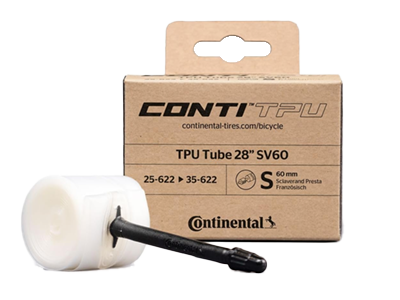 | Continental TPU Inner Tube | Fits 25 to 35 mm tires, so it covers a 28. | View on Amazon |
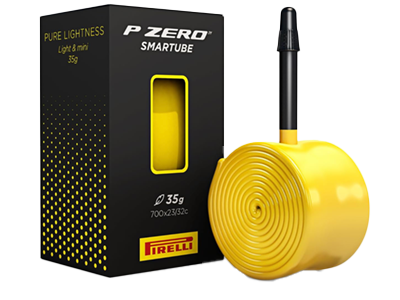 | Pirelli P Zero SmarTUBE | Fits 23 to 32 mm tires. The 60 mm Presta valve suits deeper rims. | View on Amazon |
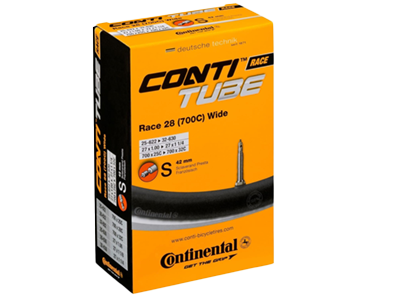 | Continental Race Tire | Tube-type road tire, 25-32c. Check the width range against your rim. | View on Amazon |
Benefits of Tubed Tires
- Simple: No sealant, no tape, no special pump.
- Easy roadside fix: Swap the tube, pump it up, carry on.
- Fewer compatibility headaches: A normal clincher tire and a tube fit most rims. Hookless rims still need a hookless-compatible tire.
- Cheaper to start: A tube costs far less than a full tubeless kit.
- TPU and latex are quick: Good ones come close to tubeless rolling resistance.
Drawbacks of Tubed Tires
- Pinch flats: Run low pressure and a hard hit can pinch the tube against the rim.
- Every puncture is a stop: No self-sealing, so even a tiny thorn ends your ride. Or your race.
- Butyl is slower and heavier: Extra friction and extra grams, especially against TPU.
- TPU can be fragile: They cost more and are harder to patch on the road.
- Higher pressures: You can’t safely run as low as you can with tubeless.
Is Tubeless Actually Faster?
A bit, against butyl. Against a good TPU or latex tube, barely.
Bike magazine’s lab testing put tubeless just under 4 to 5 watts ahead of a butyl tube per tire at 35 km/h. That’s a real gain. But TOUR’s 2023 test compared the same tires as tubeless and with TPU tubes, and found the tubeless advantage marginal, if it existed at all.
In plain terms: if you’re swapping butyl for tubeless, you’ll gain something. If you’re swapping a good TPU tube for tubeless, don’t expect to feel it. For racing, the bigger wins are fewer flats and lower pressure without pinch flats. Speed is a bonus.
Check Your Rims First: Hookless and Tubeless-Ready
Most modern road wheels are tubeless-ready. Plenty are also hookless, meaning there’s no small hook on the rim edge to hold the tire bead. That’s fine, but it comes with rules:
- Pressure cap: European and ISO standards limit hookless systems to 72.5 psi (5 bar). Heavier riders on narrow tires can bump into that, which is why many end up on 28 mm or wider. Not sure what pressure you need? Silca’s tire pressure calculator is a good starting point. If the number comes out above your rim’s limit, go to a wider tire rather than pumping past the cap.
- Tire compatibility: Not every tubeless tire is approved for hookless rims. Check the tire maker’s list and your wheel maker’s notes.
- Heat adds pressure: One brand estimates about 2.5 psi for every 10°C of warmer air, according to BikeRadar. Worth remembering when your bike sits in the sun in transition. Don’t pump right to the limit on a hot morning.
- Trust your gauge: BikeRadar found some pumps over or under-read, so use one you trust.
Not sure what your wheels are? Check the rim label or the wheel maker’s website before buying tires.
Tubeless vs Tubes for Road Racing and Triathlon: How to Choose
Go tubeless if:
- A flat would cost you a result, or a long day in the saddle.
- You want to run lower pressure for grip and comfort.
- You’re fine checking pressure and replacing sealant a couple of times a year.
- Your wheels and tires are tubeless-compatible.
Stick with tubes (ideally TPU or latex) if:
- You race a few times a year and want a setup you never think about.
- You don’t want to deal with sealant.
- Your rims aren’t tubeless-ready.
- You’re new to the sport and still buying the basics. Our beginner triathlon gear guide covers where the money matters most.
A few triathlon-specific notes:
- A flat in a race ends your day either way. Tubeless just lowers the odds.
- Bikes sit in transition for a while. Heat raises pressure, especially on hookless wheels.
- Carry a backup even if you run tubeless: a plug kit, a TPU tube and CO2. If something goes wrong closer to race day, our guide on what to do if your bike breaks before race day covers triage.
My pick: tubeless for racing, with a TPU tube as the backup. But I’d take good TPU tubes over a half-hearted tubeless setup. Cheap sealant, sloppy rim tape and zero maintenance is worse than a decent tube.
My Tubeless Experience (Including What Went Wrong)
I run tubeless on both my road bike and my TT now. It took a while to get there.
My relationship with tubeless had its drawbacks. I started with low-quality sealant. After a while I switched to a good one, and that made all the difference. If your first tubeless attempt goes badly, look at the sealant before you give up.
I’ve had plenty of tube punctures over the years. Running tubeless, I’ve had stretches of a full year with none, and other months where things went sideways. A few weeks after buying a brand new Continental GP5000 S TR, I got a nasty gash in it. The hole was too wide for sealant, so I put a tube in to get home.
I fixed the tire later with a Stan’s Dart. That was months ago, and I’ve done two gran fondos on it since. No issues.
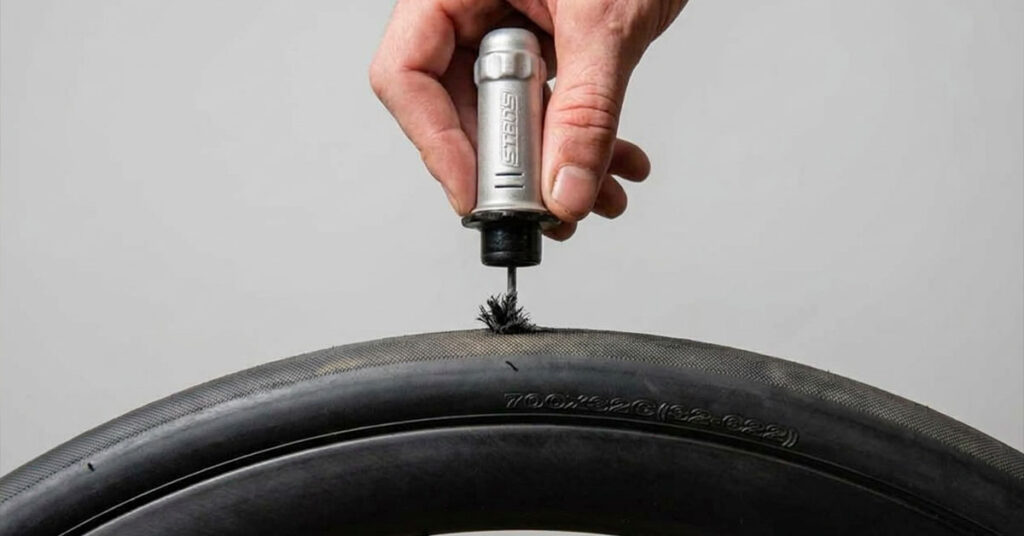
The lesson: tubeless doesn’t make you flat-proof. It makes flats rarer, which I’ll happily take. Sealant handles small holes. Big ones still need a repair or a backup tube.
How to Install Tubeless Tires: Step-by-Step Guide
This works for a road or TT wheel with a tubeless-ready rim. Lay down a towel, keep a rag handy, and give yourself some time on the first go.
Before You Start
- Make sure your tire IS tubeless compatible. Check the sidewall for TR, TLR or “tubeless ready”.
- Check your rim. It needs to be tubeless-ready. If it’s hookless, remember the 72.5 psi (5 bar) cap.
- Pick the right valve length. Valves come in several sizes. Check your rim depth first, so the stem clears the rim with room for your pump head.
- Pick the right tape width. Rim tape also comes in multiple sizes. Match it to your rim’s internal width, and follow the wheel maker’s guidance.
- Also grab: rubbing alcohol, a rag, a little soapy water, and tire levers for removal.
What You Need
| Item | Product | Notes | Link |
|---|---|---|---|
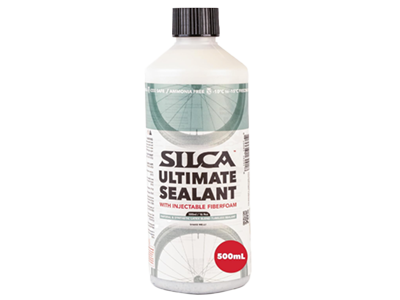 | SILCA Ultimate Sealant | My preferred choice. | View on Amazon |
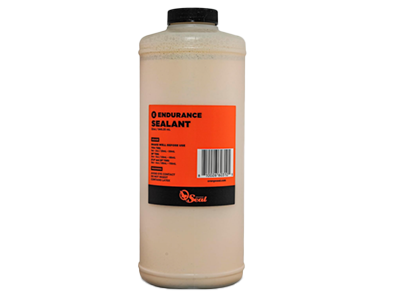 | Orange Seal Endurance Formula | Another solid option. | View on Amazon |
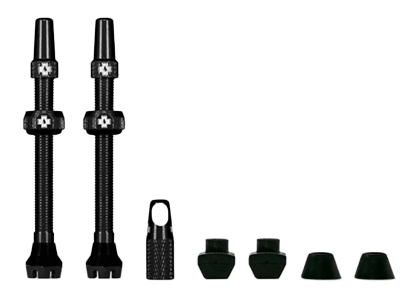 | Muc-Off Tubeless Valves V2 | 60 mm Presta, 7075 aluminum. Check your rim depth. Other sizes available. | View on Amazon |
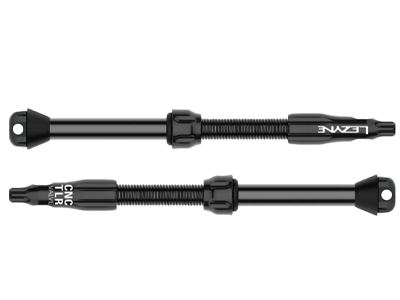 | LEZYNE CNC TLR Valve Pro | Sold as a pair. Check the length for your wheels. | View on Amazon |
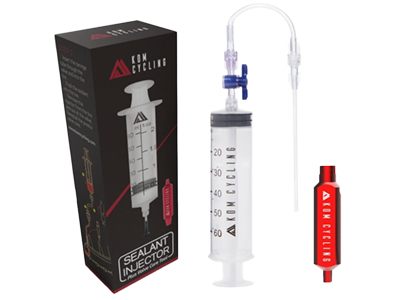 | KOM Cycling Sealant Injector | Syringe plus Presta core remover. Lets you add sealant through the valve. | View on Amazon |
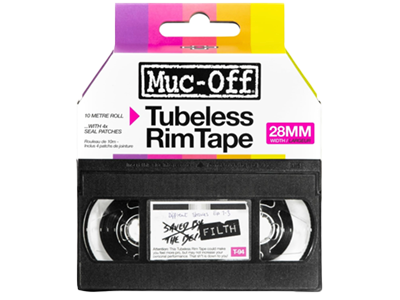 | Muc-Off Tubeless Rim Tape | 10 m roll with patches. Multiple widths. Match your rim. | View on Amazon |
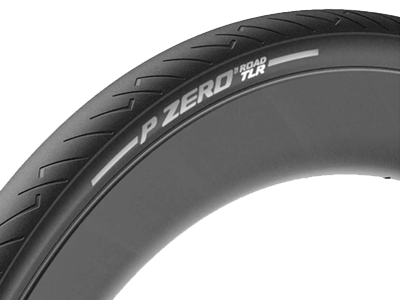 | Pirelli P Zero Road Tire | Tubeless ready, 700×28. Confirm it suits your rim. | View on Amazon |
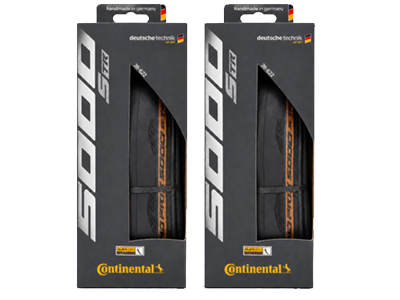 | Continental Grand Prix 5000 S TR | Tubeless-ready. Check the width for your rim. | View on Amazon |
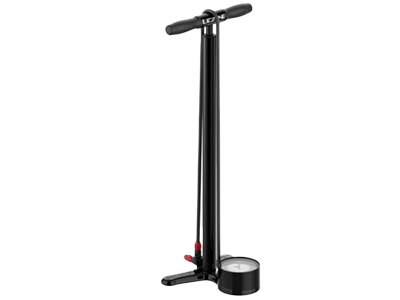 | LEZYNE Classic Floor Drive 3.5 | The floor pump I use to seat tires. | View on Amazon |
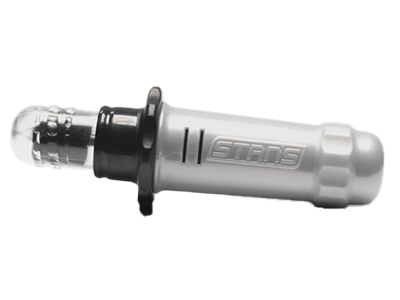 | Stan’s Original Dart | Tubeless repair tool for larger holes sealant can’t handle. | View on Amazon |
Step 1: Clean the Rim
Make sure the rim is spotless before you touch the tape. Strip off any old tape or dried sealant and wipe the rim bed with rubbing alcohol. Let it dry. Tape sticks to clean, dry rims. Skip this and you’ll be redoing it.
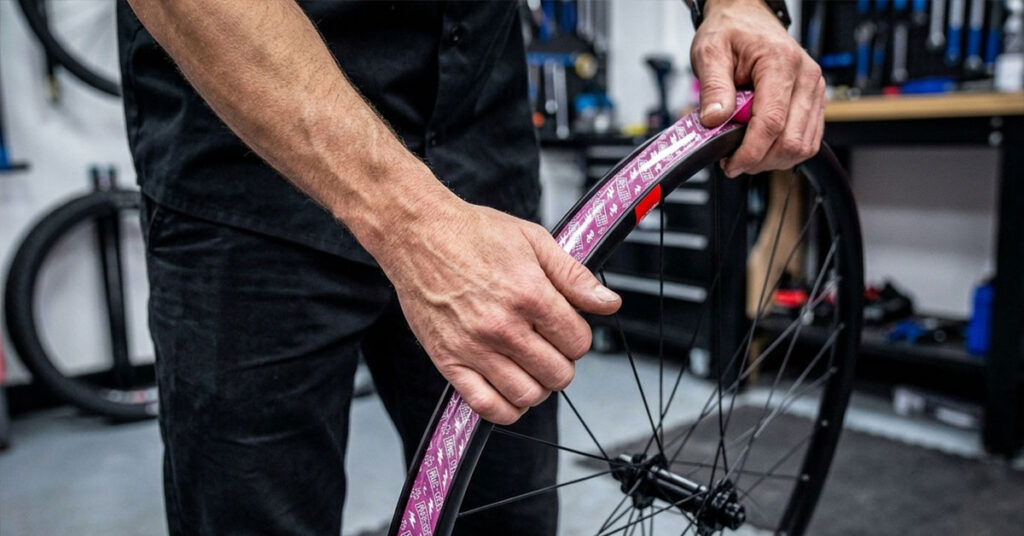
Step 2: Apply the Rim Tape
- Start just before the valve hole and pull the tape snug as you wrap one full lap.
- Overlap the end by about 3 inches (7.5 cm) past where you started.
- Press it down firmly, especially at the edges, and push out any bubbles.
- Find the valve hole by feel and pierce the tape with a small pointed tool. Keep the hole small.
- Some rims call for two layers. Follow the rim or tape maker.
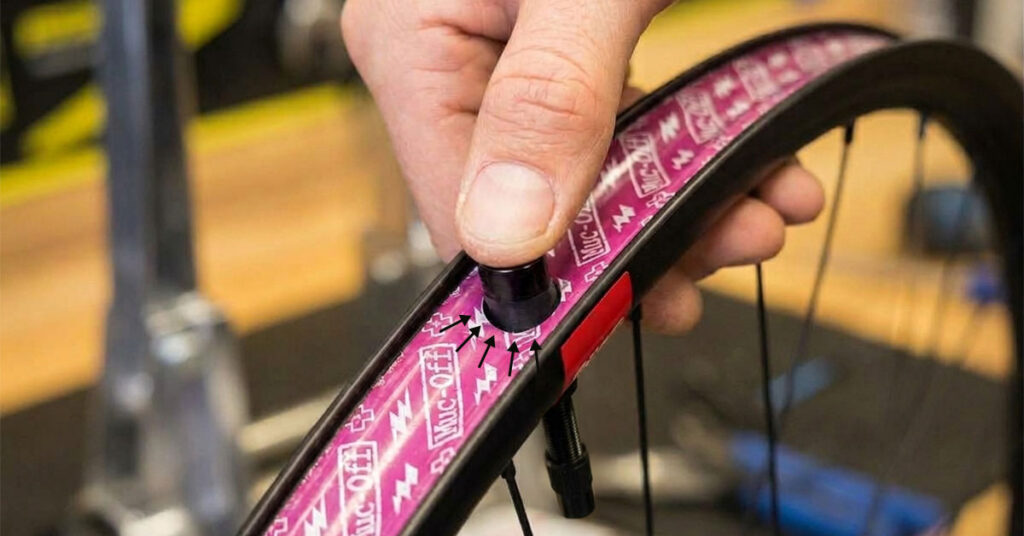
Step 3: Install the Valve
- Put a small dab of sealant around the rubber base of the valve, the part that sits against the rim.
- Push the valve through the hole and thread on the lock ring.
- Make sure the valve is tight. It shouldn’t spin when you push a pump head onto it.
Step 4: Mount the Tire
- Check the rotation arrow on the sidewall before you start.
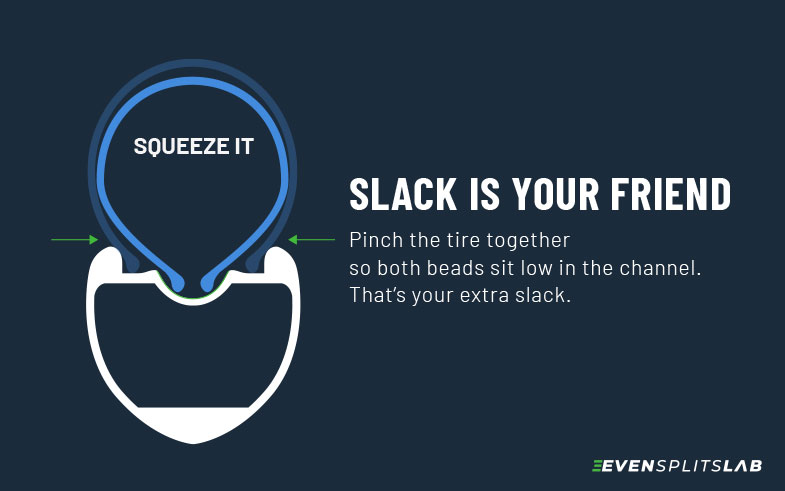
- Fit the first bead all the way on. Then work the second bead on by hand, starting opposite the valve.
- Push the tire into the deep center channel of the rim to get slack for the last section.
- A little soapy water on the bead can help it slide on and seat later.
- Avoid levers if you can. They can nick the tape.
Step 5: Seat the Tire Before Adding Sealant
Do this before the sealant if you’re using a syringe. It’s less messy, and the tire doesn’t need sealant to seat on the rim. You do need a good floor pump.
- Pumping fast works best. Taking the valve core out first gives you more airflow.
- Listen for the pops as the beads seat, then check for an even bead line all the way around on both sides.
- Stay under the tire and rim limits. On hookless, that’s 72.5 psi (5 bar).
- If it won’t seat: check the tape for gaps, push the bead back into the center channel, add a bit more soapy water, or try an air booster pump or compressor.
Step 6: Add the Sealant
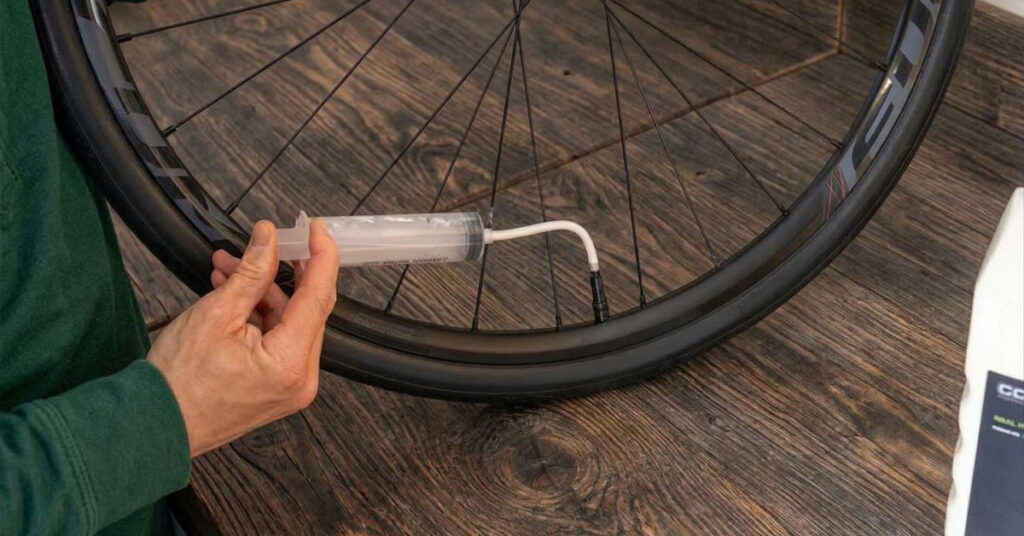
- Once the tire is seated, let the air out and take the valve core out.
- Shake the sealant, draw it into the syringe and inject it through the valve.
- Check the amount for your tire and rim. Road tires usually take somewhere around 30 to 60 ml. Silca suggests about 2 oz for road. Your sealant’s chart wins.
- Put the valve core back in and snug it up.
Skip the pour-in method on road tires. Silca says it works for rigid gravel and MTB tires, but not well for road tires that take their shape with inflation.
Step 7: Inflate and Spread the Sealant
- Pump up to your riding pressure, within the limits above. If you’re not sure what that is, start with Silca’s tire pressure calculator and adjust from there.
- Spin the wheel and tilt it in every direction so the sealant coats the whole inside of the tire.
- A little sealant weeping at the bead is normal. It should stop quickly. Wipe it off.
Step 8: Ride, Then Recheck
Take a short ride to spread the sealant. Check pressure the next day and top it up. If it’s still dropping after a few days, check the valve is tight, look for gaps in the tape, and see whether the tire needs more sealant.
For more detail on the process, BikeRadar’s road tubeless guide is worth a read.
How to Keep a Tubeless Setup Working
- Replace the sealant on a schedule. I do it every 5 to 6 months. Other sources say anywhere from 2 to 6, depending on climate.
- Check pressure before every ride. Tubeless loses a bit more air than tubes.
- Carry a backup kit. A plug kit, a TPU tube, CO2 or a mini pump, and tire levers.
- Keep a repair tool at home. A tool like the Stan’s Dart handles larger holes.
Final Thoughts
Tubeless is what I’d run for road racing and triathlon, and it’s what I run on both bikes. It’s not magic. Good sealant, clean tape and a bit of upkeep matter more than the label on the tire.
If you’d rather keep things simple, a good TPU tube in a quality tire still gives you a fast, reliable race setup. Pick the one you’ll actually maintain.
Quick Answers
Can I put a tube in a tubeless tire?
Yes, as long as the tire is tubeless-ready and you respect the pressure limits. It’s the usual fix when a plug won’t hold. Take the tubeless valve out, clear out as much sealant as you can, and fit the tube like normal. That’s how I got home after my gash.
Can I convert my current wheels to tubeless?
If your rims are tubeless-ready, yes: you just need tape, valves and sealant. Older rims may not be rated for it, so check with the wheel maker. Don’t guess, because a tire coming off the rim at speed is a bad day.